Wednesday, July 27, 2016

Rifle Paper Boylston Bra

Rifle Paper Bra

Does anyone else "assign" yourself a project, and then over the next several weeks repeatedly think about how you haven't done said project yet, and stress out about it hanging over your head, even though you're the only one that knows about the project and no one will care if you never make it? No? Just me?

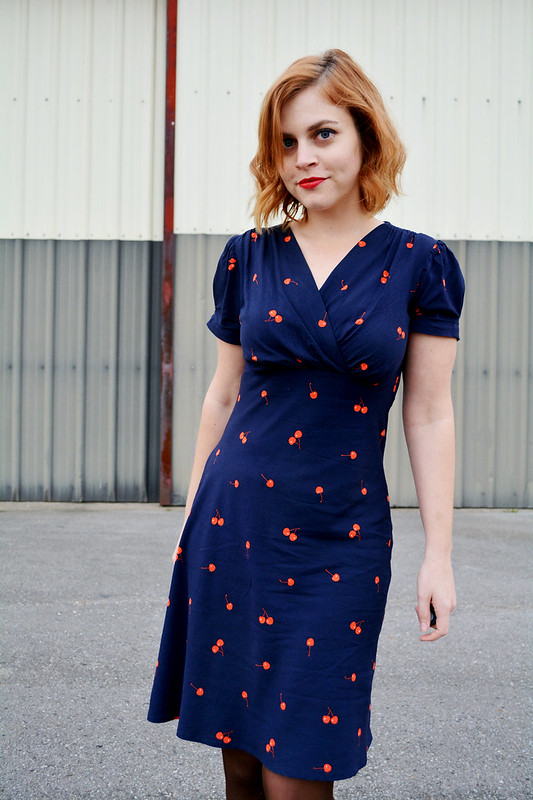
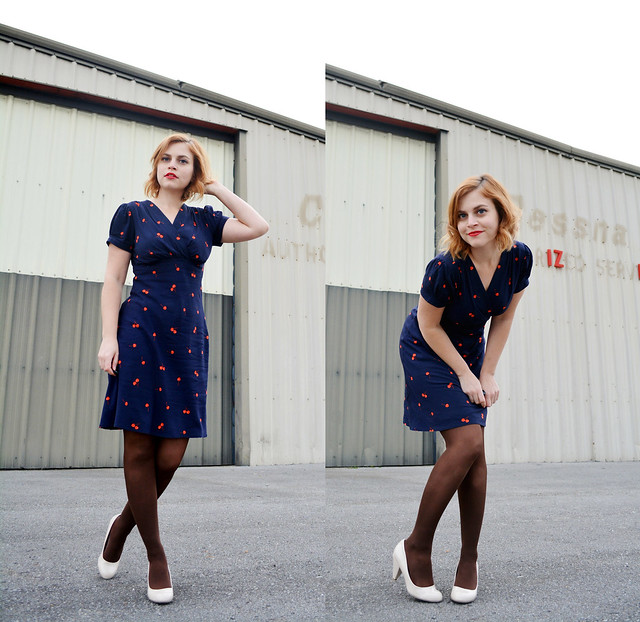
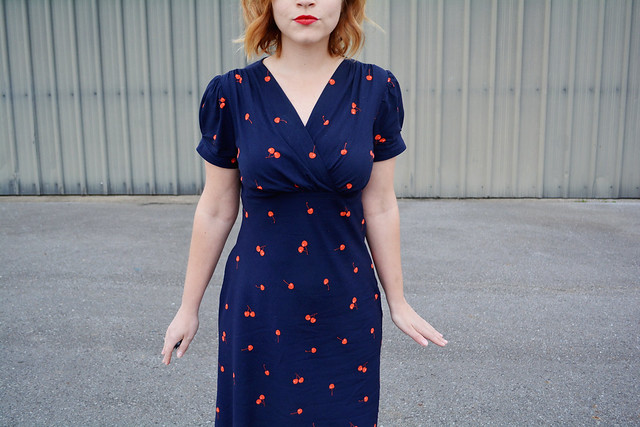
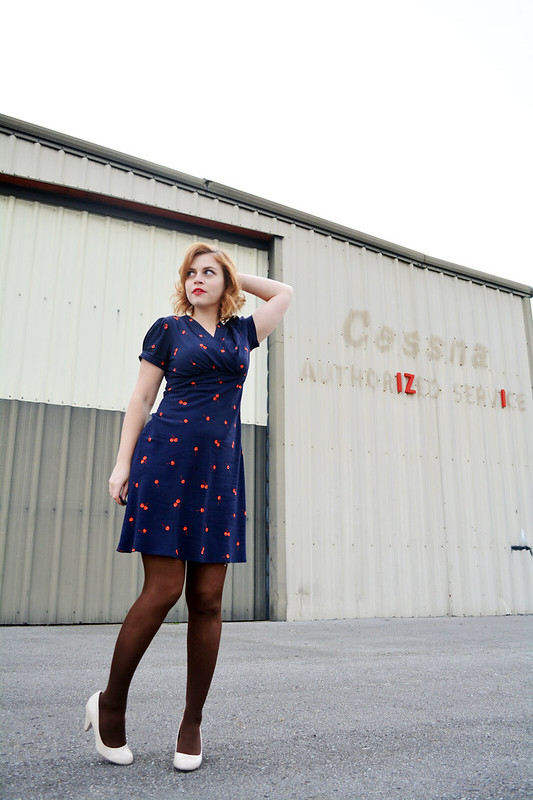
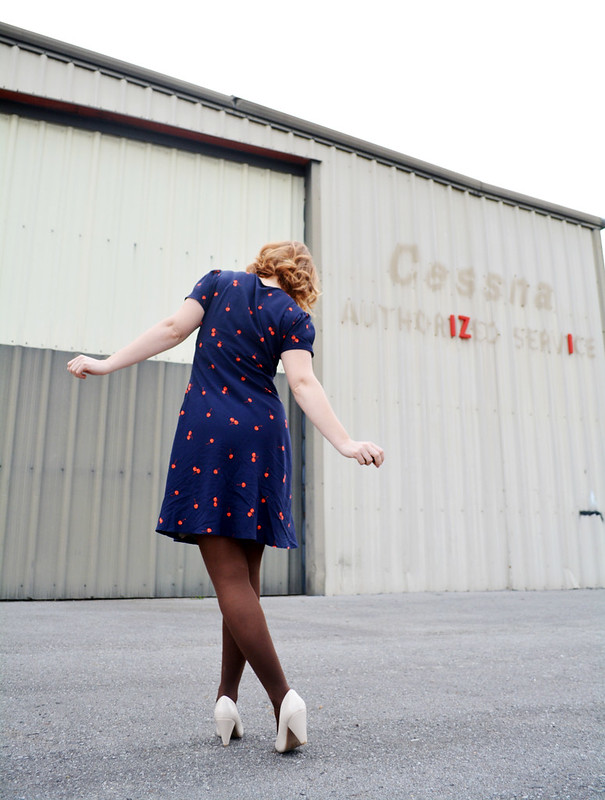
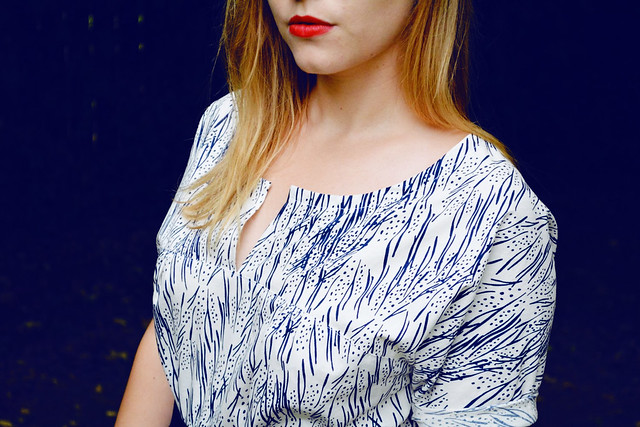
After making a dress out of this BEAUTIFUL rayon, I decided that I needed to make a bra from the scraps. They sat in a pile for a few months, guilt-tripping me with their presence, taunting me with their silky smooth delightfulness. Then I had a sewing weekend with some lovely ladies, and I conquered that pile of scraps.

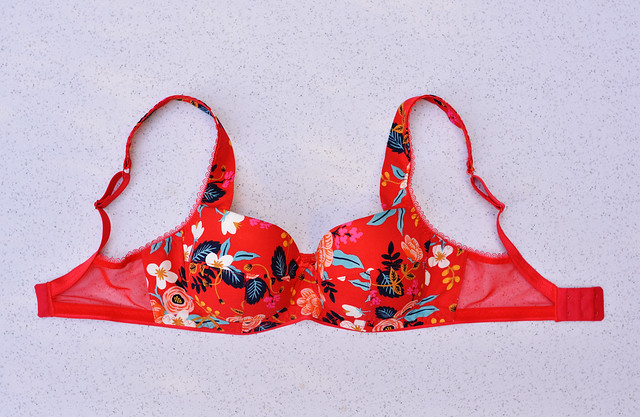
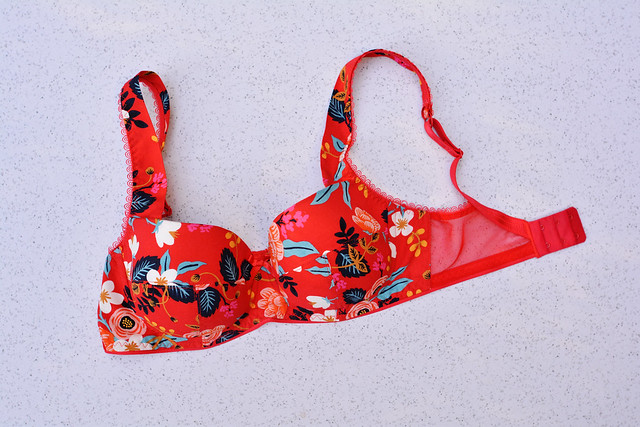
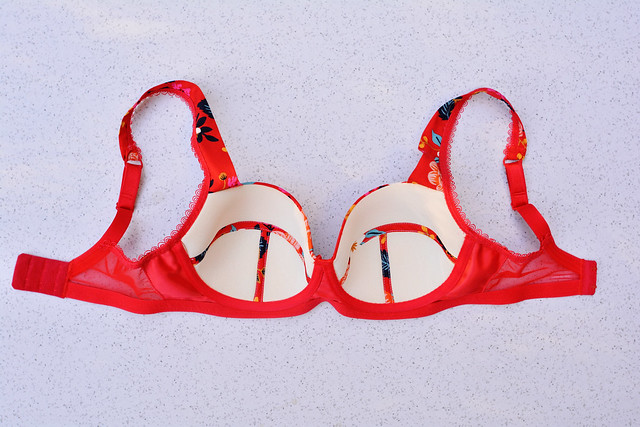
I made a Boylston Bra, pattern by Orange Lingerie.

Rifle Paper Bra

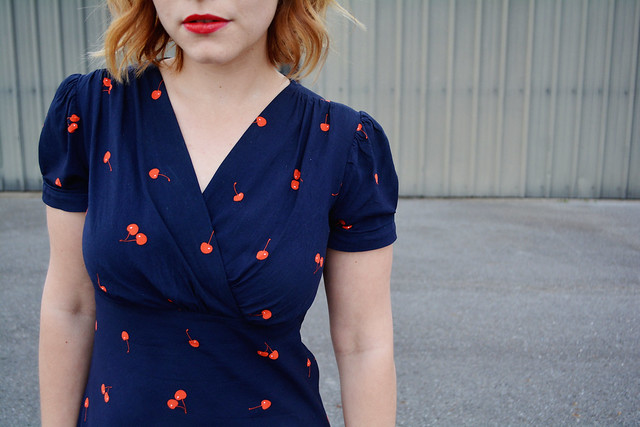
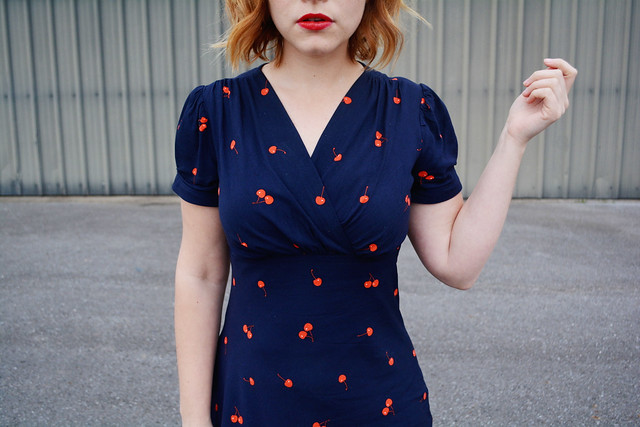
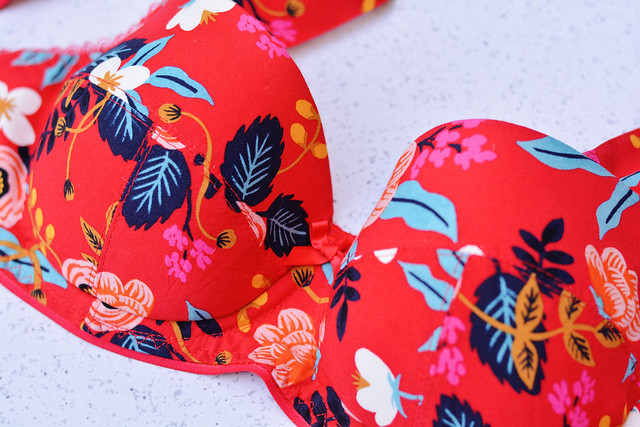
First let me talk about the fabric. This is about-to-be-released fabric from Cotton+Steel [my employer], designed by Anna Bond of Rifle Paper Company. This is her first fabric collection and it is so divine!

Rifle Paper Bra

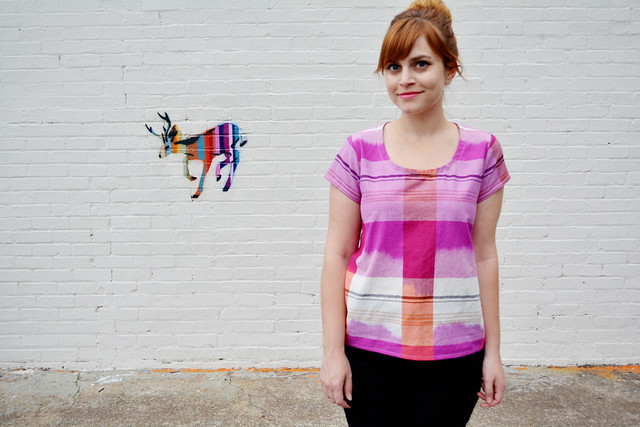
The rayon forms the outer cups, frame, bridge and straps. I love the wider fabric straps, especially how they don't look very bra-strap-ish when they poke out from under something.

[Side note: remember how bra strap headbands were a thing??]

All of the findings/notions/other fabrics were from a red bra kit from, terribly, I can't remember. I think it might have been from Arte Crafts? The foam is from somewhere else that I also can't remember. It was literally the first thing I bought when I was interested in making bras [for some reason]. Aren't I the most helpful sewing blogger??

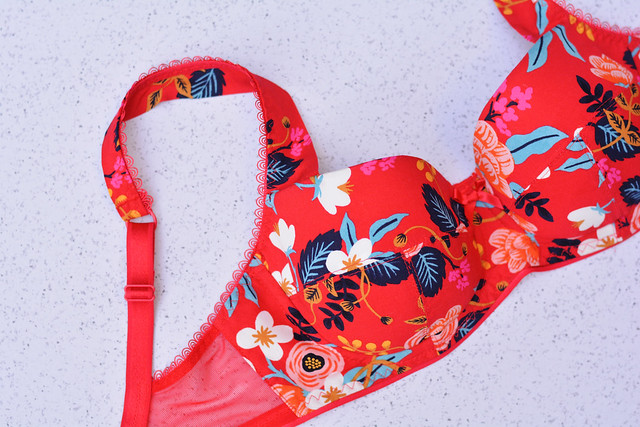
I love the picot elastic that was in the red kit!

Rifle Paper Bra

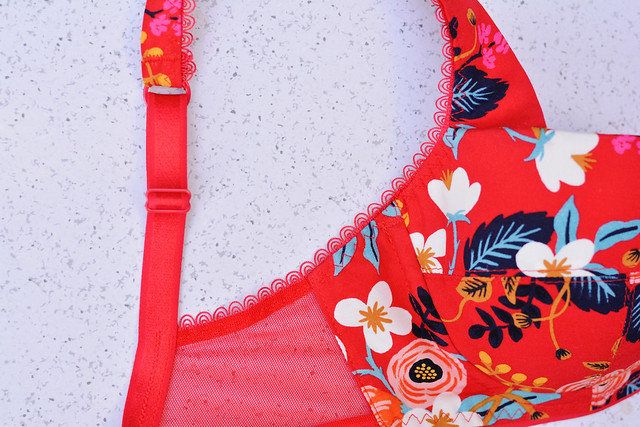
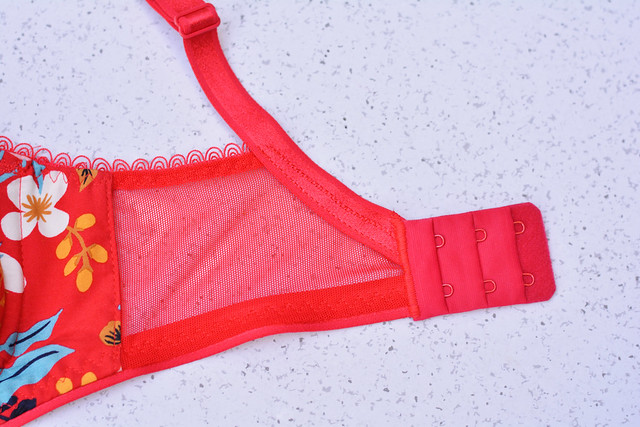
I attached the closure on the back with a medium satin stitch. I remember noticing this on a RTW bra and tried to mimic the same look.

Rifle Paper Bra

Here is the inside.

Rifle Paper Bra

I lined the frame and bridge with the red duoplex that was in the kit. I wanted a really clean finish on the inside and also was worried that a single layer of rayon would be too delicate. I was a teeny bit concerned it would end up too thick but it's totally fine.

Rifle Paper Bra

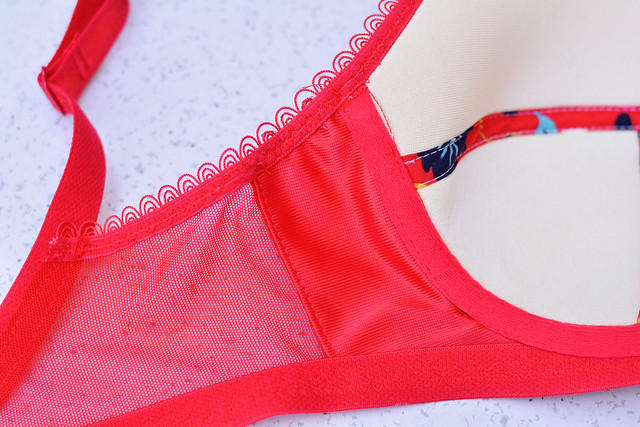
The lining made it easy to get a completely sealed-in seam on the sides. I just sewed together the lining and shell bridges/frames, then pinned them right sides together along the sides with the powermesh band sandwiched in between. I sewed, turned right side out, topstitched, and then basted the raw edges of the the frames together.

This is my first time making a Boylston Bra, and the first time doing a foam bra. The pattern doesn't include any info about making a foam lining, but luckily there's an awesome tutorial series about it on Cloth Habit, so I used that for reference. I did it about 95% right - the foam is a little too bulky right where the strap connects, which I think is because I didn't trim it down far enough.

Rifle Paper Bra

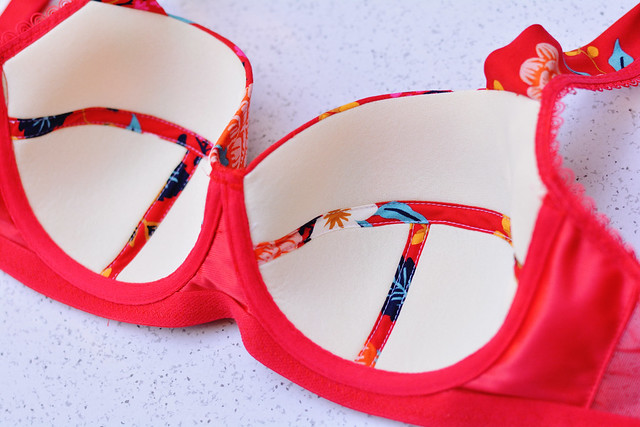
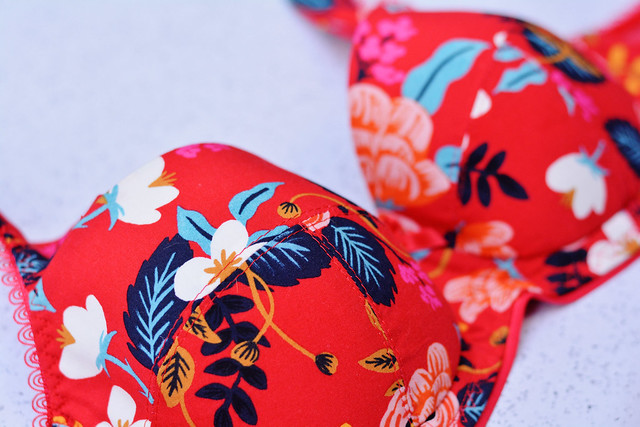
I used a 3 step zig zag to seam the foam cup pieces together, then used bias cut strips of the rayon to cover the seams, which I love.

As for size: I have already made several [yet un-blogged] Marlborough Bras, also by Orange Lingerie. When initially making the Marlborough I went through a little fitting process and ended up making a 34C and removing 1" total from the back band. This was actually a larger size than I should have made based on my measurements, but it worked out. So I went ahead and cut that size in the Boylston, figuring the fit would be fairly similar.

It fits pretty well, a little bit on the restrictive side but totally wearable. In an effort to use up the extra strap elastic, I used it for the bottom band, only realizing after that it's way less stretchy than the band elastic. So that's part of it. I also probably shouldn't have preemptively shortened the back band. I think that next time I will make a 34D and use the proper elastic, and that might be a little bit more comfortable.

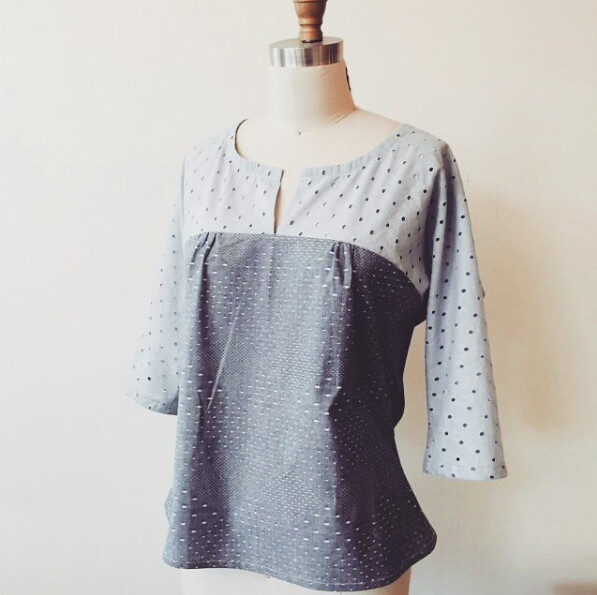
Here it is on my headless lady friend.

Rifle Paper Bra

This bra is really awesome on. It looks super fancy and, not gonna lie, makes the girls look pretty great.

Rifle Paper Bra

Overall I LOVE the Boylston Bra pattern. I can't wait to make more and continue tweaking. I'm also definitely going to make it into a bathing suit at some point. See how many projects I'm assigning myself? Up over my head they go.

Rifle Paper Bra


Monday, March 21, 2016

McCall's 7116 / Cotton + Steel Fruit Dots Rayon

McCall's 7116

Should I even talk about how long it's been since I've posted?

Nah.

(Except yeah, it's been a really long time. Is anyone still reading this? Do people still read blogs? What should I have for lunch? If you can answer any of these things, comment below.)

M7116 / Cotton + Steel Rayon

This dress is McCall's 7116 made out Cotton + Steel Fruit Dots rayon. It has an overlapped, self-faced, gathered bodice, side zip, and bias-cut skirt. These pictures were taken after wearing it two days in a row. Let it be known that this was only because I was doing a video at work and had to have the same wardrobe, and no, I don't want no scrub. But I love this dress enough to really not have minded that much.

So here are the details:

FABRIC: Cotton + Steel Fruit Dots Rayon (Melody Miller)

McCall's 7116

I've already spent time lauding the glorious qualities of C+S rayon. If you've never sewn rayon before and want to know a good place to start, start here. C+S rayon is a teensy bit heftier and *firmer?*beefier?* than any other rayon I've worked with. It just seems to know where to fold itself, and has such a nice, non-clingy drape. It's assertive fabric. It's decisive fabric. It's fabric that knows what it wants.

The cherries also come in a deep turquoise/mustard colorway, which is equally as lovely. Luckily, the place where I was in-person-shopping only had this colorway. Phew. Dilemma avoided.

I prewashed cold and line dried. My other handmade rayon garments have not stood up well to machine drying, which I know is a rayon no-no, so I'm finally trying to be a grownup about it and actually line drying some things that need it.

PATTERN: McCall's 7116

McCall's 7116

I bought this pattern impulsively after seeing it posted on the McCall's instagram. Suggestion to purchase, obeyed.

As with any Big 4 patterns, I erred mostly on the side of smaller than what it says. My measurements are 33-27-38 and I cut a 10-12-16. The 16 was actually a size up from what I should have cut, but I'm glad I did since I would not have wanted it any smaller.

McCall's 7116

After muslining just the bodice, the front neckline edges had some serious gaping action, so I took a wedge out there by slashing across the bodice to the armscye, overlapping, and redrawing the front edge to straighten it out.

I also thought I might need to take some kind of FBA action (I'm always on the edge of needing one), as the bottom edge of the pattern piece seemed too short just under by bust. I was feeling a little adventurous so I just kind of winged the adjustment, and I think it totally worked! I slashed horizontally though the bust point, then up to it and hinged, and just lowered the two hinges by the amount of length I wanted to add. This also added some extra fullness to the gathers.

Also, the sleeve was too tight. I was about to get all complicated with the slashing and the spreading, when I realized I could just make the pleat smaller and add circumference that way. So much easier! So I added 3/4" to the sleeve, which basically just meant redrawing each pleat line 3/8" in towards the center.

THE SEWING

M7116 / Cotton + Steel Rayon

I squeezed this out of about 1 7/8 yards of 45" fabric, with not an inch of extra to spare. This was an amazing and stressful feat accomplished by intense pattern piece tetris-ing and much uncomfortable kneeling on floor. I had to cut everything in a single layer to get it to fit.

I added interfacing to the self faced edges of the front bodice neckline. I used fusible tricot interfacing and cut it exactly the width of the facing, so that the fabric wants to fold over right where it should.

McCall's 7116

I used to hate doing side zips for some reason, but this one went in really well (it's that fabric I tell ya), and I think it might have converted me! I wish I had a better shot of it. One little trick I always do with invisible zippers is to fuse a 1" strip of tricot interfacing to each side of the seam before putting in the zipper. This reinforces the fabric and makes everything a lot smoother and sturdier. I actually have a roll of 1" wide tricot interfacing from Wawak that is the most amazing shortcut ever, but I just searched their website and they don't seem to have it anymore. Sadness.

After finishing and trying on, I decided the skirt was just a leeeetle too tight across the hips, so I let out the non-zipper side seam as much as I could. I now feel a slight diagonal pull in the skirt when I wear the dress, but I don't think it's visible so I'm just dealing.

M7116 / Cotton + Steel rayon 
me, dealing

Last thing to note is that I omitted the sleeve buttons, which are only decorative anyway, because they just felt like too much with the pleat and the gathers and everything.

I really, REALLY like how this turned out, and I have Anna Maria Horner's Fibs & Fables Helios rayon on standby for the next one. Let's see how long it takes me to blog about THAT.

McCall's 7116

Thursday, September 3, 2015

Class Alert: Anna Maria Horner Well Composed Blouse

Well Composed Blouse

So, why have I neglected my blog for so long? I've been:

A] finally achieving my dream of having a farm filled with only miniature animals
B] consoling Hootie after he learned he can never be the first cat in space [France sent the first cat to space, naturally]
C] assembling a campaign staff in preparation for my 2016 Rent Is Too Damn High Party presidential candidacy
D] really busy with work

Ugh, it's the boring answer.

I seriously have barely looked at my blog since my last post, which was all the way back in May. I feel like my life has been a little insane over the summer, and I have hardly had a moment to sit down, much less selfishly sew. I was thinking about it, and I realized that since my Ginger Jeans way back in March (posted in April), the only thing I've sewn for myself that wasn't obligatory - meaning for work, gift or teaching - was this black ponte circle skirt.

THE ONLY THING. SINCE MARCH.

Well Composed Blouse

I am a shell of a seamstress. And in my rusty blogger state, I took pictures of said skirt against a dark background, to great invisible effect. Also as you will see, the only pose into which I could cajole my unpracticed limbs was holding my skirt up in the air.

Well Composed Blouse

Yup, that's all I've got.

Well Composed Blouse

But the real focus of this post is my top. It's the Anna Maria Horner Well Composed Blouse, and I'll be teaching it at Craft South here in Nashville starting a week from today, Thursday, Sept. 10. Woohoo! It's a really great pattern to whip up.

Look at this freakin adorable version from the Craft South Instagram feed:

Anna Maria Horner Well Composed Blouse

My version is made with an Art Gallery fabric from The Fabric Studio [which is also where the ponte is from]. I actually bought it before I moved to Nashville and I came here to find a place to live and, naturally, also scout out all the fabric stores.

Well Composed Blouse

[I swear the top of the center fronts line up, they are just laying weird in this pictures. Rusty, I tell ya]

In the class we'll be making the blouse version, but the pattern also can be made as a dress with pockets. You can sign up for the class online here. So if you're local, come sew and learn with me! It's gonna be fun!

Also, in case you missed it, I'm proud to say I had an article published in Seamwork Magazine this month about the history of tartan. You can read it here.

Wednesday, June 3, 2015

An Unnecessary Recap of Me Made May 2015

Ok. So if you follow me on Instagram, I've just made you endure pictures of my outfit every single day throughout the month of May. If you're still with me, now I'm showing my gratitude by forcing you to look at all of these outfits AGAIN, ALL AT ONCE.

But you see, I really wanted to make a photo collage.

Me Made May 2015

[I got rid of one picture - a day I was sick and wearing a sweatshirt - so that I could have a rectangle. Symmetry>accuracy.]

In case anyone is interested, here are a few conclusions/random thoughts I had while doing this:

The eyes are the window to the soul, or to the crazy. It was so much easier to take pictures of myself [read: pictures of myself that I could easily accept] if I cropped off the top of my face. I can't tell you how many of these pictures feature crazy / is-she-drunk / is-she-about-to-kill-someone stares. But you never knew. Until now.

I need to make more cardigans and jeans. This is not a very exciting conclusion, but it's a fact. These are the two main categories in my wardrobe that are still RTW, and I wear them a lot.

I'm a terrible blogger. By this I mean that I've only blogged 15 of the 39 things I wore throughout the month. What is the statute of limitations on blogging? Is it weird to blog something I made three years ago?

Social media can be really bad for your brain. This part was actually very real and not so great. My routine would be that I would snap a few pictures on the way out the door in the morning, then post one when I got to work. After that, all day, a steady stream of Instagram notifications meant my phone was constantly glowing, constantly delivering those tiny surges of validation. And honestly, I think I got a little addicted to it. Checking my phone was like a lab rat pushing the dopamine lever. [By the way, there are a ton of articles about how social media appeals chemically to the dopamine receptors in our brains: here is one.]

I don't normally post on a such a regular schedule, and not necessarily every day. So I really think I was conditioning myself to want it. It was much different than just absently checking the feed in a down moment. Eventually I had to put my phone away because it was really interfering with my attention span.

Has anyone else ever experienced this? And if you did Me Made May, did you learn anything? I probably won't do it again, but it was interesting to try.

Thursday, May 21, 2015

I'm teaching at Craft South!

scouttee1

OMG!

The amazingly talented Anna Maria Horner is opening a craft space / craft store in Nashville called Craft South, and I'm going to be teaching there!

scouttee2

It's going to be a big, beautiful space in 12 South with fabric, yarn, embroidery, classes and workshops, and even a handmade goods boutique. And if you're not local, despair not, you can shop their online store! It's already live and filled with good stuff.

I'll be starting things out by teaching the Million Use Zipper Bag. This is perfect for beginner sewers, or if you've never tried tackling a zipper. It's a one session class (Thursday June 4th) so no major commitment. And these little bags seriously have a million uses! You'll want to make a ton. Or a million. You can sign up online here.

zipbag1

My second class will be the Grainline Studio Scout Tee, which is what I'm wearing in these photos. This is a great first garment to try if you've sewn before, but feel shaky about following a pattern. Over the course of making the project, we'll be learning how to choose a size, cut out the pattern, sew and finish seams, do set-in sleeves, a bias bound neckline, and a double fold hem. Lots of new skills to learn, plus by the end you'll have a cute new shirt!

scouttee4

This is a three session class that meets three Thursdays in a row starting June 11th. You can sign up online here.

The class sample is made from one of Anna Maria's gorgeous new Loominous fabrics, a collection of yard dyed wovens. They are all spectacular. Want. Them. All.

Anna Maria Horner Loominous Fabric

Craft South's grand opening is going to be Friday May 29th from 4-8pm. I'll be there, so I hope you will too!

P.S. The awesome signage and painted deer are outside Old Made Good, a vintage store in my neighborhood. You should probably follow them on Instagram.

scouttee3

LinkWithin

Related Posts with Thumbnails